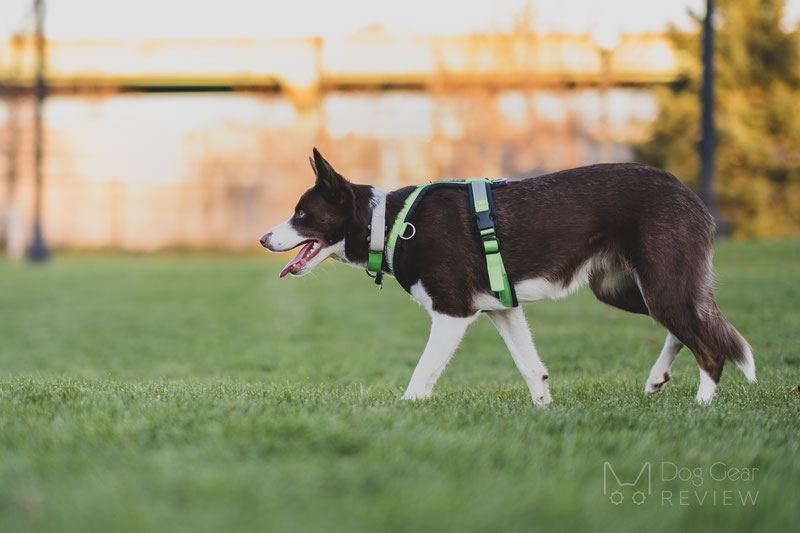
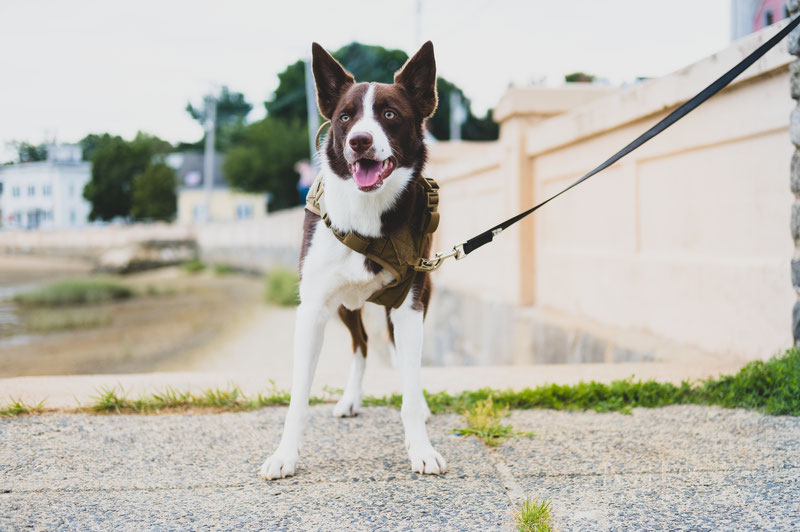
Updated for 2025
Not all Y-harnesses are created equal
There is such a strong pushback about using collars or harnesses going across the shoulders, while no one seems to talk about the risks of using a poorly fitted/sized Y-harness. Many seem to think that any Y-harness is safe for their dog, which is not true. The unpopular truth is that a poorly fitting Y (or H) harness can cause the same health problems or injuries as a dog pulling in a collar or while wearing a cross-shoulder harness.
We already addressed the argument that Norwegian harnesses would always restrict the shoulders in another article. We noted that adjustment and the dog’s behavior are essential to determine if that style can work for your dog, and the same is true for the Y-harnesses! Finding a good fit is very hard, and there are many ways the straps can restrict the movement, change the natural posture or gait of the dog, and cause rubbing/chafing. You want to ensure the harness is comfortable all around so your dog can freely enjoy your time outside.
Let’s look into all the aspects of the harness fit so you can decide for yourself if a harness fits your dog well!
How Should a Dog Harness Fit?
I marked an ideal harness fit on the photos below, but to be honest, we rarely tested a harness so far that was perfect fit for Mia in every aspect. As you will see in the examples later, we usually ended up with a trade-off: if I adjusted the neck straps ideally, the harness was way too close to the armpits; if it left room in the armpits, it was way too loose and low around her neck. You will probably face similar dilemmas with most harnesses unless you have a custom harness or one with 5-6 adjustment points.
We will talk about each of these sections in more detail below, but let’s start with a high-level overview of what to consider:
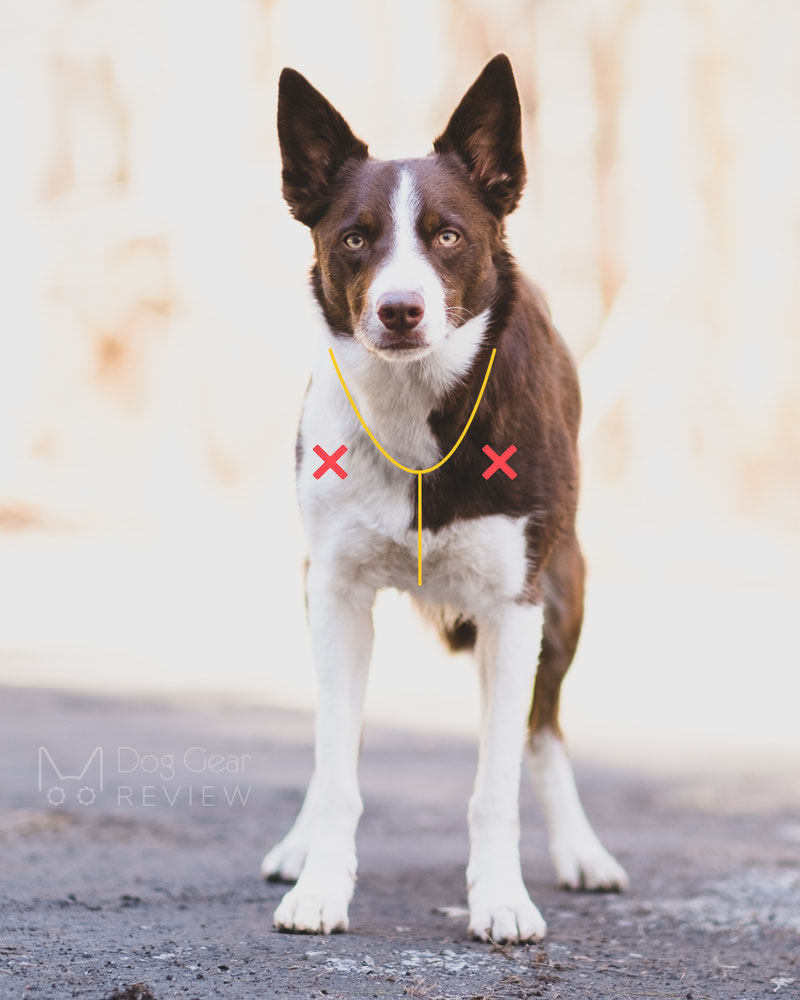
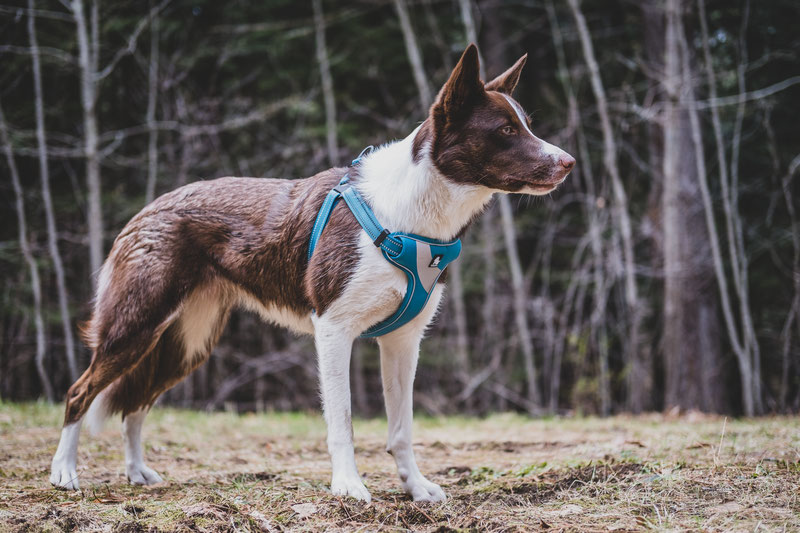
Shoulders: I marked the approximate position of the shoulder joints in the photos below with the red Xs. If your dog pulls or lunges on the leash, you don’t want the neck straps covering this section.
Chest Bone: the chest bone is the spikey bone you can easily feel on the dog’s chest. You want the middle of the connection of the Y or H to be ON this bone.
Armpits: leaving room behind the front legs allows the dog to move their legs freely while you also don’t want the straps to be too far back, putting pressure on soft tissue.
Between the Front Legs: be sure that the chest piece isn’t too wide between the front legs and is not chafing the inside of the front legs.
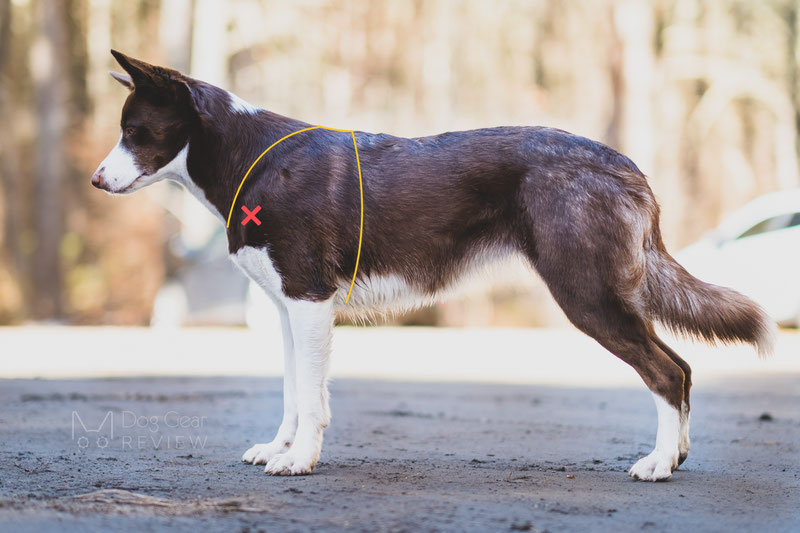
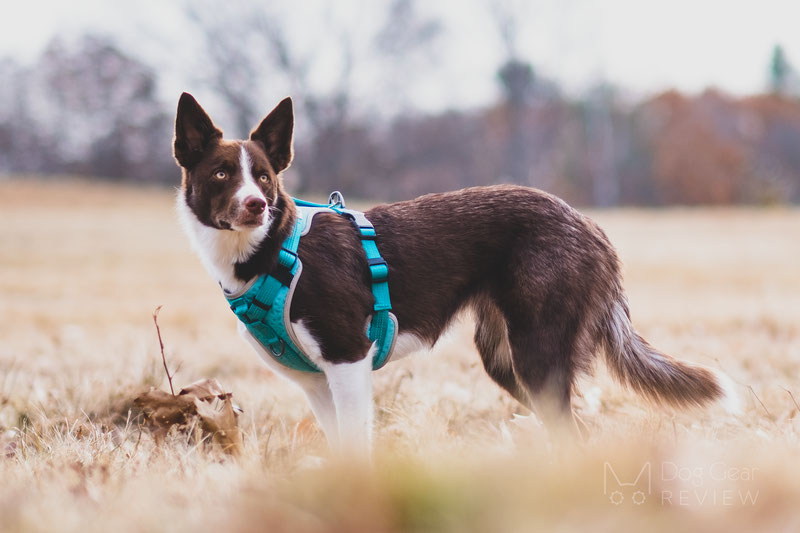
Below is an example of one of the harnesses that fit Mia well. The shoulder straps go above the shoulder; the chest straps are far enough to leave room for the legs to move back but not too far to put any pressure on soft tissue. The section on the back starts right before the shoulders, so it doesn’t make the neck movement uncomfortable.
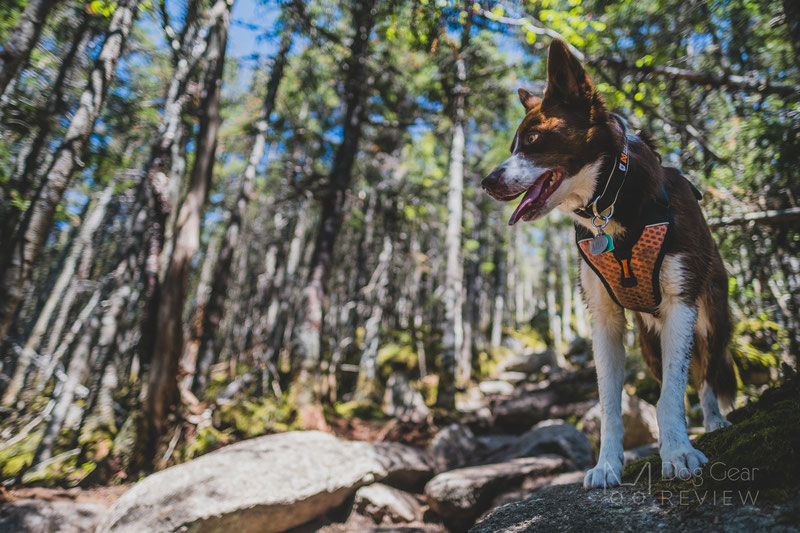
Harness Fit Details & Examples
Below, I will bring many photos as examples of good and bad-fitting sections on Mia. By no means my goal here is to show that one harness is good while the other is bad because all these would be a very different fit on another dog. I aim to help you see what you need to look for on your dog!
Also, don’t forget that photos can be misleading; I can easily pick a picture of most harnesses when they look perfect and one where they hang too low, shifted to the side, etc. There are angles and body positions when the front of the harness might look way too low, while it is actually okay in a relaxed position. I brought photos where it’s easy to see my point and where the picture reflects how the harness was positioned in real life.
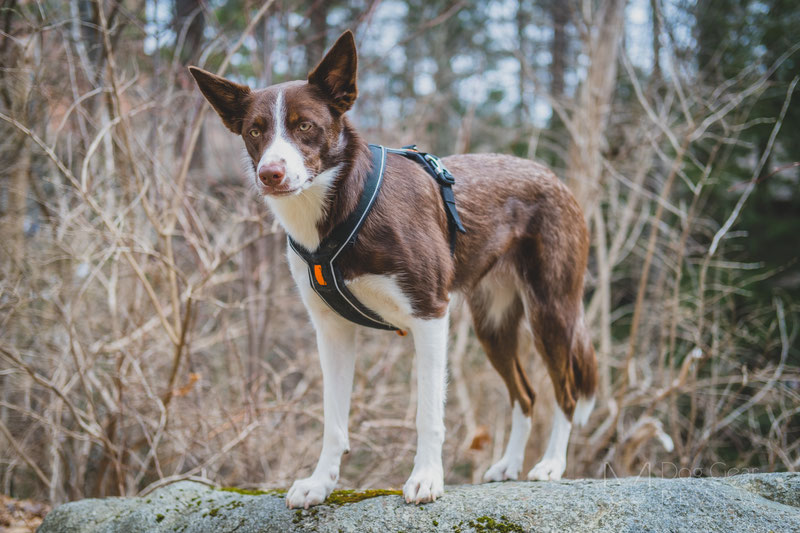
Best Harness Fit on the Chest Bone
The harness mustn’t slide up on the neck so it doesn’t put pressure on the trachea. You want the “meeting point” of the chest section and the neck straps to be on the chest bone, not soft tissue.
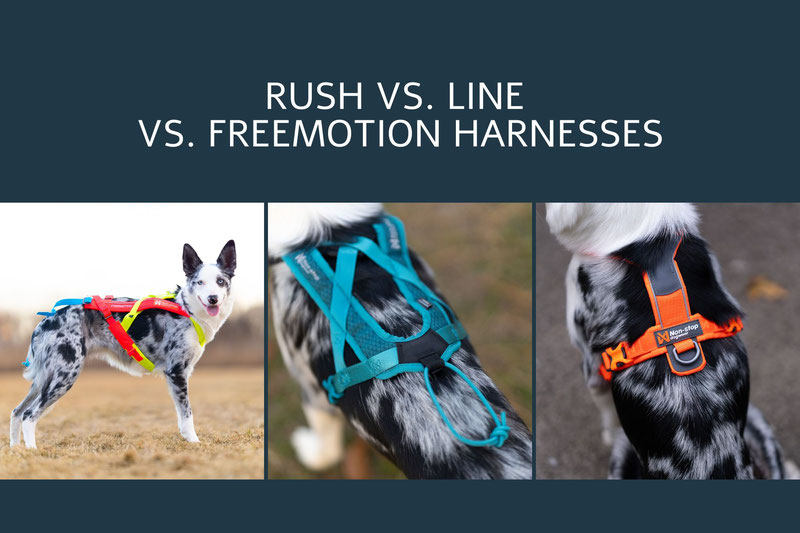
When asked about this, I like to show a photo of the Non-Stop Dogwear Line harness because the orange loop on the front marks where the chest bone should be when the dog stands with heads up. Of course, it will position differently as they move, but it gives you a good general idea.
This harness is too big around the neck: it goes over the shoulders even with the neck-straps tightened all the way.
An example where the chest plate goes a little too high up on the neck even with the neck straps loosened all the way.
Best Harness Fit on the Shoulders
Most people buy a Y-harness, saying that they don’t want to put pressure on the shoulders with another design, but I see so many terrible fitted Y-harnesses which is doing just that. This can be due to the neck-strap’s angle, having a large harness, or wide straps on a slim dog.
An example of a good shoulder fit is below - first featuring the CTC Shoulder Harness.

This harness is too big. The neck strap is not adjustable, the front sits too low, and the wide neck straps cover the shoulder joint.
Another slightly big harness designed to go back in a lower angle. The combination of these makes the neck strap cross the shoulder joint.
An example of a broad, sturdy neck section on a narrow dog. It would fit a wider dog perfectly but covers Mia's shoulders.
Example of a three-strap harness with a slightly too big neck section.
Best Harness Fit in the Armpits
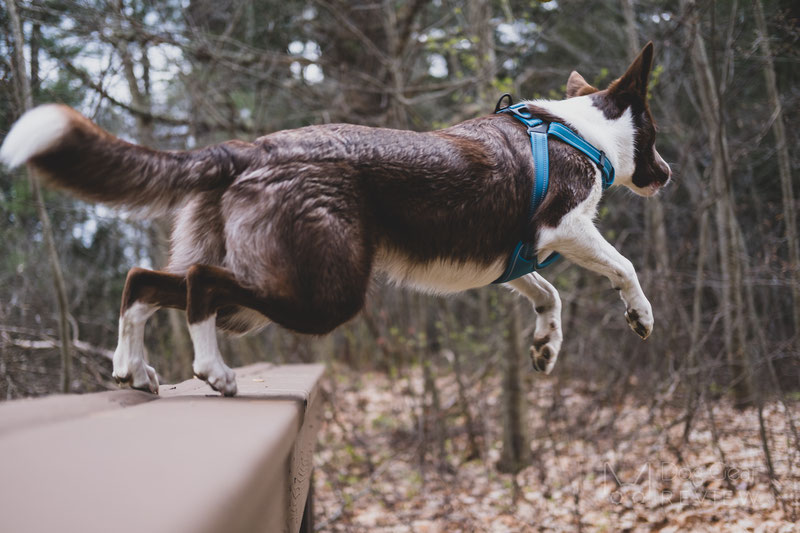
Having a harness too close to the armpits can cause chafing, rubbing, and it can change the dog’s stride and body posture, creating joint and spine problems in the long run. While we want to be sure that the forelimb can freely move backward when the dog stops, we don’t want the chest straps to be farther than the last sternebra to ensure no weight is distributed on the soft tissue of the abdomen.
As a general guide, it’s ideal to have room for 2-3 fingers for medium dogs and 3-4 fingers for large dogs between the chest strap and the back of the front legs. This is hard to scale down for small dogs since there are huge differences, so just try to get a similar proportion.
An example of a harness sitting in the armpits chafing when the dog steps.
A similar position where the leg can freely move back front of the chest strap.
Besides risking pressure on soft tissues, the other issue you will face with a harness positioned too far back is that it will slide up a lot when pulled forward before the front legs stop it.
The Importance of the Width of the Chest Section Between the Front Legs
This aspect of the harness is usually overlooked unless the dog has sensitive skin and starts having issues on the inner section of the front legs. Padding on the chest section is essential, but it will rub, chafe, or just annoy the dog if the chest piece is too broad. This causes them to change how they walk to avoid the uncomfortable feeling, which puts abnormal pressure on the shoulder joints.
Sometimes, it is easy to immediately see that the harness is too wide between the legs, but sometimes it is harder to decide. An easy way to check it is to play a little fetch with and without the harness while you sit down to see the dog’s movement from their level.
The chest section of this harness is too wide for Mia.
If you also have a narrow dog, look for a harness where the chest piece narrows instead of a straight design between the legs.
The harness below has a narrow enough section right between the legs when Mia stands, but her legs are still rubbing against it when she steps because the chest plate’s curve was designed for wider dogs.
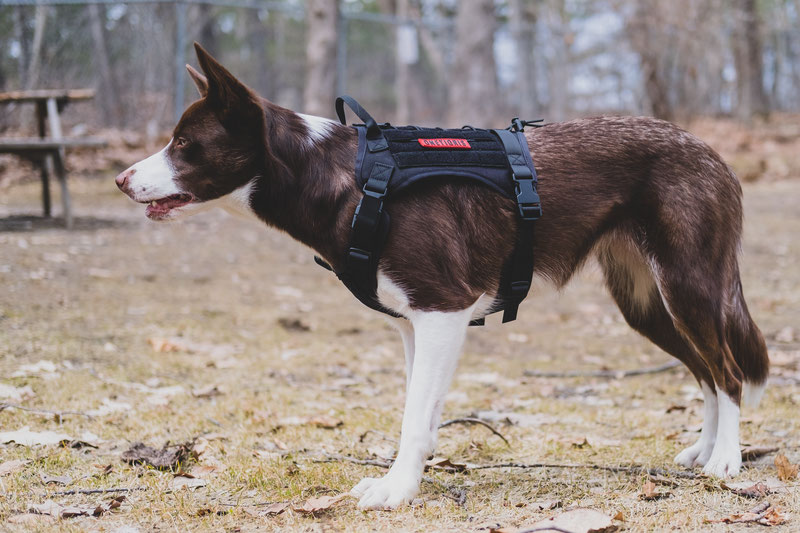
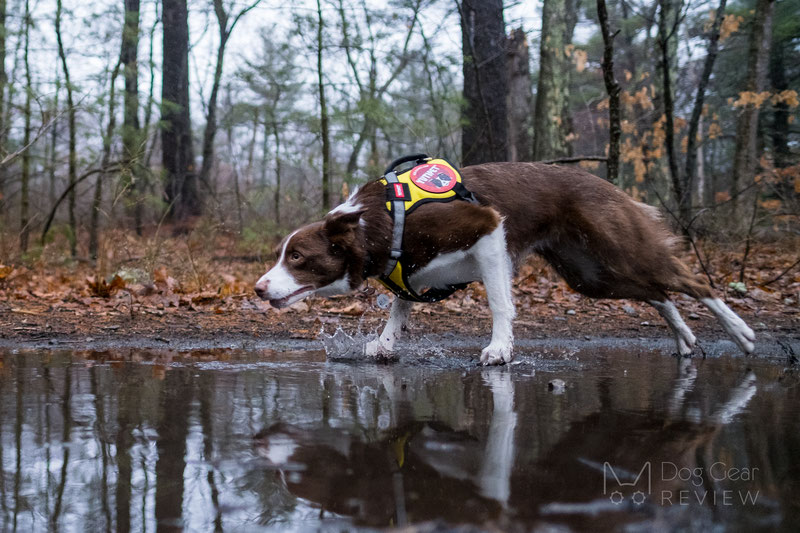
How to Fit Three-Strap Harnesses
With three-strap harnesses, the same applies to the neck and first chest strap that we discuss here. However, you need to be careful with the last strap especially if it sits over soft tissue(not on the ribcage), as you want to ensure it will not pressure the stomach when the dog moves.
This strap can be added for two reasons: to distribute the weight better when lifting the dog (but these are still not carry harnesses) or to prevent anxious dogs from slipping out of the harness. These two scenarios require a different fit and adjustment of that third strap.
If you want to know more about how to safely fit a three-strap harness, we wrote an in-depth article on the topic.
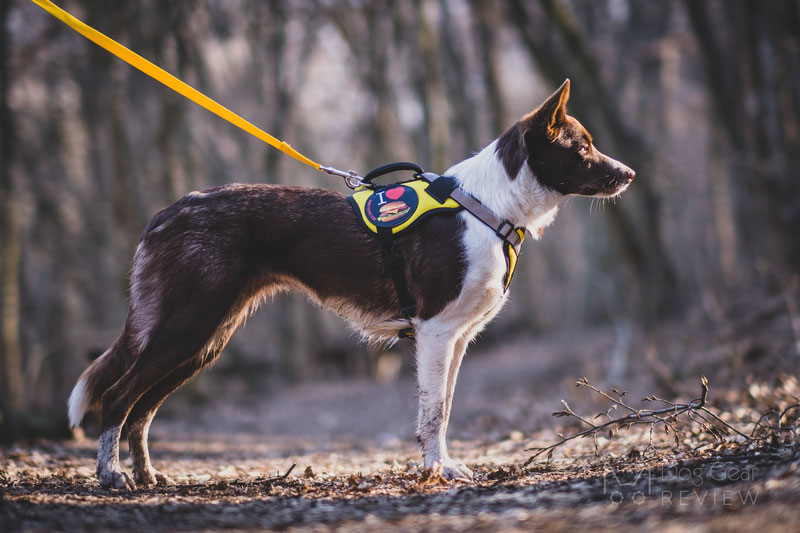
Where should the No-pull Front Clip be positioned?
I am writing another article on no-pull harnesses, their effectiveness, and adjustments, so I will not go down that route here; I just wanted to point out that most harnesses have the no-pull ring sitting way too low on the chest. You will have the best steering power if the no-pull ring is on the chest bone, so the harness turns the dog instead of pulling their leg to the side, which will cause many different issues in the long run. If you plan to use the no-pull ring, be sure it is positioned right!
See two examples below:
A well-positioned no-pull loop.
The no-pull ring sitting way too low between the legs.
We also have an article discussing why an effective no-pull harness’ fit will be different than discribed here and what risks come with using these harnesses.
The role of the Buckles
Many harnesses only have buckles on the chest straps, which is fine for most dogs. Symmetry is usually a good thing to look for with all buckles because even a small plastic buckle on the chest strap can cause the harness to rotate to one side constantly. Needing to click two buckles on the chest strap instead of one makes putting it on 3 seconds longer, but in return, the harness will stay in position much better when the dog is running off-leash.
We have another article discussing why some dog harnesses rotate more than others.
If you have a gear-shy dog or one who doesn’t like to be touched, you might consider looking for a harness with at least one buckle on the neck straps so you don’t need to pull the harness over the head. It can also be helpful if you have a dog with a proportionally big head, so the ideal neck adjustment wouldn’t allow the harness to go over its head.
So why do most harnesses come without buckles on the neck straps? The advantage of not having buckles on the neck strap is that there is a lower chance of chafing from the hard plastic buckle and that the buckles cannot suddenly fail if the dog lunges, putting all that pressure on them.
A Side note on Step-in Harnesses
Based on my experience, it’s almost impossible to find a well-fitting step-in harness, but since they are commonly used for small dogs, it’s much harder to see that they restrict and chafe. I wanted to mention them here to motivate everyone with a small dog to lie on the ground and check how that harness is positioned on their dog when they walk around.
By design, these harnesses are right in the dog’s armpits. The neck straps of the harness below should have been tightened even more for a good neck fit, but then Mia wouldn’t be able to step without chafing the armpits. It’s not impossible to find one that will fit your dog; it is just much more challenging than with any other design.
Summary
As you see, there is much more to finding a good Y-harness than finding one that doesn’t seem too loose/tight around the chest. While it is tough to find an overall well-fitting harness without getting a custom design, it is not impossible, especially if you try to find one with many adjustment points and you spend time re-adjusting it as needed.
You don’t have to be as strict with all these requirements as I said in this article. Many dogs never have an issue with a harness being close to their armpits. If a dog doesn’t pull on a leash, a wider neck strap over the shoulder joint will not be a problem as long as there is room to move their legs freely.
On the other hand, if you have a puller, you want to pay close attention to the chest’s pressure distribution and leave the shoulders free. If you have a dog with sensitive skin, you want to be sure that the chest plate isn’t touching the inside of the front legs and that the armpits are not chafing.
You know your dog, and the goal of this article was to help you decide your priorities and assess if the harness fits as you expected. There is no point in using a harness just because it is a good brand or because someone knowledgeable uses it for their dogs. Choose a harness that fits YOUR dog ;)
If you are interested in reading more, check out the reviews of these harnesses or browse our other articles! :)
Additional Resources
Effects of restrictive and non-restrictive harnesses on shoulder extension in dogs at walk and trot by the British Veterinary Association
The Effects of Five Commercially Available Harnesses on Canine Gait: here is the description of the research and here is an article on the results
K Galla, Christian Peham, S. Limbeck, Barbara Bockstahler: Pressure distribution under three different types of harnesses used for guide dogs
Ellen Williams, Violet Hunton, Jacqueline Boyd, Anna Carter: Effect of harness design on the biomechanics of domestic dogs -
Blake, S., Williams, R., & Ferro de Godoy, R. (2019). A systematic review of the biomechanical effects of harness and head-collar use in dogs
Kiss, R., Nagymáté, G., & Biksi, O. (2018): Biomechanical analysis of the dog kinematics of different harnesses
Abdelhadi, J., Wefstaedt, P., Galindo-Zamora, V., Anders, A., Nolte, I., & Schilling, N. (2013). Load redistribution in walking and trotting beagles with induced forelimb lameness. American Journal of Veterinary Research
Carr, B. J., & Dycus, D. L. (2016). Canine gait analysis. Today’s Veterinary Practice, 6(2), 93–100.
Pálya, Z., Rácz, K., Nagymáté, G., Kiss, R. M., & Tomaszewska, E. (2022). Development of a detailed canine gait analysis method for evaluating harnesses: A pilot study
Shih, H.-Y., Phillips, C. J. C., Mills, D. S., Yang, Y., Georgiou, F., & Paterson (2021) - Dog pulling on the leash: Effects of restraint by a neck collar vs. A chest harness. Frontiers in Veterinary Science
Weissenbacher, A., Tichy, A., Weissenbacher, K., & Bockstahler, B. (2022). Influence of two types of guide harnesses on ground reaction forces and step length of guide dogs for the blind
Petforta video showing the dog on a properly-sized treadmill while wearing different harnesses
Chris Zink - To Harness Or Not To Harness?